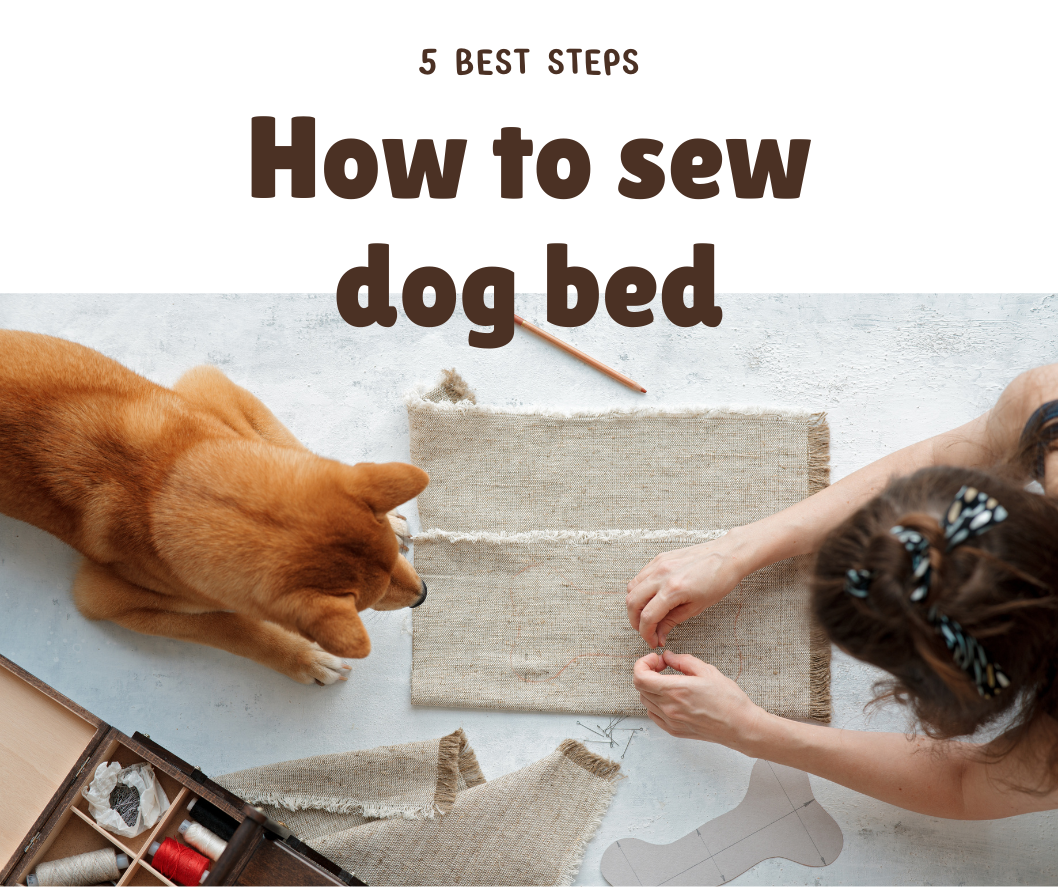
If you’re a dog owner and you think about how to sew a dog bed or someone who loves crafting and wants to make a cozy haven for your furry friend, you’re in the right place.
Dogs are not just pets; they’re part of our family. What better way to show them love and care than by providing a comfortable bed tailored to their needs? By following these straightforward steps, you can unleash your creativity and craft a personalized dog bed that your furry companion will love—creating a space that reflects their unique style and personality, making them feel at home.
So, let’s get started without delay! In this article, we will guide you through the top 5 steps to sew a dog bed from scratch.
How to Sew a Dog Bed in 5 Easy Steps:
Step 1: Gather Materials
Before embarking on any project, it’s crucial to ensure that you have all the essential materials within reach. For this sewing project to create a dog bed, you will require the following:
- Your preferred fabric (ideally durable and machine washable)
- Filling material (such as polyester fiberfill or foam inserts)
- Sewing machine (or sewing needle and thread)
- Pair of scissors
- Measuring tape
- Pins
- Optional: Decorative elements like buttons, ribbons, or patches for adding a personalized touch to the bed
Step 2: Measure and Cut the Fabric
Take your dog’s measurements to ascertain the bed’s dimensions, and include a few extra inches for seam allowance and added padding.
After obtaining the measurements, cut two fabric pieces in either rectangular or circular shapes, based on your preference, to serve as the top and bottom panels of the bed. Subsequently, cut two additional rectangular pieces for the bed’s sides, ensuring they are long enough to cover the height of your intended bed size.
Step 3: Sew the Panels Together
Align the top and bottom panels with their right sides together, then secure them in place with pins. Proceed to stitch along three edges, leaving one edge open for inserting the stuffing.
Subsequently, take one of the side panels and attach it around the open edge, ensuring the right sides are aligned, and leaving a small opening for stuffing. Repeat this process with the remaining side panel on the opposite end, also leaving a small opening for stuffing.
Step 4: Stuffing
Once the bed is filled through the openings on both sides with your preferred filling material, it’s crucial to ensure an even distribution for a cozy and luxurious bed. This will provide your pet with a comfortable and supportive sleeping surface.
Upon reaching the desired level of filling, it’s time to secure the openings. Utilize a slip stitch or hand stitching to neatly close the openings, ensuring that the filling remains intact and the bed maintains its shape and comfort over time.
By paying attention to the distribution of filling and carefully closing the openings, you can create a high-quality and durable bed that will offer your pet a restful and enjoyable sleeping experience.
Step 5: Add Personal Touches
It’s time to get creative and personalize your dog’s bed! Consider adding buttons, ribbons, or patches to give it a unique and charming touch. You can also embroider your dog’s name or a favorite design onto the fabric for an extra special touch.
With these simple steps and a dash of creativity, your DIY dog bed is now ready for your furry friend to enjoy. You’ve crafted a cozy and fashionable bed that your dog will adore.
Remember to maintain the bed’s cleanliness and comfort by washing it regularly and replacing the filling as needed. We hope this guide has sparked your imagination to create a special sanctuary for your beloved four-legged companion.
Additional Tips and Tricks
- Here are some tips to consider when making a DIY dog bed:
- Opt for a durable and machine-washable fabric to simplify maintenance. If sewing isn’t your strong suit, you can repurpose an old sweater or sweatshirt as a makeshift dog bed cover by stuffing it with filling material and sewing up the edges.
- To enhance the bed’s functionality, think about using waterproof fabric or adding a waterproof liner inside the bed. This will be useful in case of accidents or spills. Additionally, consider adding a layer of fleece or soft fabric for extra comfort and foam inserts instead of polyester fiberfill for added support.
- For a more robust bed, outdoor or upholstery fabric can be utilized. You can also add a layer of fleece or flannel to the inner panels before stuffing to make the bed cozier. Larger dogs may benefit from old pillows or cushion inserts for a sturdier bed.
- When using a sewing machine, test the stitch length and tension on scrap fabric before starting the project. Consider adding non-slip material at the bottom of the bed to prevent slipping, such as a rubber grip or anti-slip fabric. If you have multiple dogs, consider making a larger bed with dividers to give each dog their own space.
- Lastly, get creative with the shapes and colors, and involve your furry friend in the process. They may not be able to sew, but they can certainly provide love and support!
Conclusion:
How to sew a dog bed doesn’t need to be complex or costly. By following these 5 simple steps and incorporating some useful advice, you can craft a customized bed for your beloved pet, ensuring lasting comfort and joy. So, gather your materials, let your creativity flow, and begin creating a snug sanctuary for your cherished dog today!
Additional Resources:
- Numerous online tutorials and videos offer in-depth guidance on sewing dog beds.
- If you think about how to sew a dog bed and sewing machine isn’t accessible, you can opt to hand-sew the bed using a sturdy needle and thread.
- Repurposing old fabrics or clothing presents an eco-friendly and budget-conscious approach to creating a dog bed.
- Remember to measure your dog’s existing bed or preferred sleeping area as a reference for sizing their new bed.
- It’s important to supervise your dog while they use the bed to ensure safety and prevent potential accidents.
FAQS:
What fabric is used for dog beds?
The best fabric for dog beds is durable, machine washable, and comfortable for your dog. Some popular options include canvas, denim, or upholstery fabrics.
How often should I replace the filling in my dog’s bed?
It is recommended to replace the filling every 6-12 months, depending on the frequency of use and wear and tear. Regularly washing the bed can also help maintain its shape and fluffiness.
How do I build a dog area at home?
In addition to a comfortable bed, you can also create a designated area for your dog in your home by adding their toys, water, food bowls, and maybe even a cozy corner for them to relax in. This will help establish a sense of belonging and ownership for your furry friend. Overall, the key is to make sure it’s a safe and comfortable space that your dog can call their own.
How to make a wooden dog bed?
If you prefer a wooden dog bed, many DIY tutorials are available online that provide step-by-step instructions on building one. Just make sure to use pet-safe materials and avoid using toxic paints or stains. Remember to also give your dog’s bed some cushioning for added comfort. Happy crafting! So go ahead and create a special place for your furry friend
What can I use instead of a dog bed?
If you don’t have the time or resources to make a dog bed, some affordable alternatives include using an old blanket or towel folded up as a makeshift bed or purchasing a ready-made dog bed from a pet store. Just make sure it’s comfortable and safe for your dog to use. Remember, anything that provides your furry friend with a cozy spot is better than nothing at all. So get creative and give your dog the love and comfort they deserve!
Happy crafting!
- Remember to always prioritize your dog’s safety and comfort when making or choosing a bed for them.
- Don’t be afraid to experiment with different materials, designs, and sizes to find the perfect fit for your furry friend.
- And most importantly, have fun and enjoy the process of making something special for your beloved dog. After all, they are a part of our family and deserve all the love and care in the world. Happy crafting!
So go ahead and create a special place for your furry friend to rest and relax – they will thank you with wagging tails and endless cuddles! Keep crafting and making memories with your four-legged companion.
Happy crafting! So go ahead and create a special place for your furry friend to rest and relax – they will thank you with wagging tails and endless cuddles! Keep crafting and making memories with your four-legged companion.
